Resources: Part 1 – Introduction
In this video, we discuss the main way content is displayed on the website – resources.
(00:01):
Hey, everybody. In this video we will be discussing how to add a resource. Resources are the most important portion of the new website because the majority of the content is categorized as a resource on the new website. To add a resource, we hit resources. Once you’re there, you will see all the resources that have been created. You’ll notice a couple different columns that are important to note here. In the resources, we have the name of the resource, the various tags that are applied to the resource, which we don’t currently really use as much, but we can talk more about that later. The type of content that the resource is, which there are articles, convention documents that is related to documents about the internal running and administration of the conventions such as book reports, convention annuals, newsletters, quick links, which are redirects to other websites, training manuals.
(01:12):
These are manuals that are relative to training for internal purpose use, such as disaster relief, or video. The type of resource that a resource is is important based upon where that content will live on other portions of the site. For now, we’re just going to hit cancel. The topics. Topics are related to various portions of the ministries that we do here and are kind of another way to sort content and sort resources across the website. We have some various topics here. What I would ask is if you want to add an additional topic, please let us know and we can add an additional topic so that way we’re not creating a ton of topics so that we can make sure that we have them nice and organized and make sure that the content appears on the portion of the page that it should appear.
(02:19):
Then finally over here we have teams. Teams is the teams that we have here at the convention and some various other offices along the way. You’ll see also a facilitator or guest speaker. We’ll talk about that when we get to the people content type. Now that we’re in the resource content type, we want to create a new resource and so to create a new resource, we hit add new, and we are greeted with this screen. In this screen we have a lot of different options. The name of the resource we will type here, my first resource, and then any content that you would like to add to the resource you can put here, and so on and so forth. We have a couple different options. If the resource is purely a redirect, we want to click yes here, and then we would type in the redirect here.
(03:34):
If we wanted to show the featured image on the page, we would hit show, and we’ll talk about the featured image in a little bit. If we want to hide social sharing icons, we can or we can keep them on. If we want a CTA in the side, we can as well. The CTA, call to action, tab right here can be featured in the side of the resource or in the body of the resource, and we’ll talk about that in the second. If this was a video resource, you would insert in the video URL here. If you wanted a great thumbnail, you would add that there. You have various kinds of call to actions, one of them being no call to action, download a file if you wanted to download, say, a PDF. You could then add a downloadable attachment, and you could have just one attachment on one resource, or you could have multiple.
(04:37):
On one singular resource, you could have various resources attached. If you had a guide for best practices for a missions trip or forms needed prior to going on a missions trip, you could have a description of what is all that’s needed, and then all the official forms here for them to download. What I would caution against is just making a bunch of PDFs and adding just a bunch of PDFs to the form, but adding some kind of content of the resource that you add so that way it is searchable and indexable by the website itself. We have this, so download form one, download form two. This is the media library and to add a media library, you can upload a file by selecting file, or actually previously uploaded stuff you can add there. We’re going to just take this document here and add that here, and now you’ll see there’s an impact, this little PDF that is going to say download form one and then we’re going to add another file.
(05:52):
We’ll add this one here and now you can see that we have two forms on here. It is not a redirect anymore because we have added content to the call to action tab. We’ve added that. Also, you can add a go-to link if the resource is a external link to somewhere else, like a Dropbox link or something from NAM or IMB, you can add the external link there. Now we’re almost done. What we want to do here is we want to go and you can schedule it to be published immediately, or you can set a time when it’s going to be published. If you have a registration resource that you only want to be available April 1st, you can make sure that it’s scheduled April 1st, and you can work on it today, February 23rd if you’d like. Is this a private one resource that’s only visible by admins and editors? Is this password protected resource that you would then give somebody the password later that you only want them to see?
(07:14):
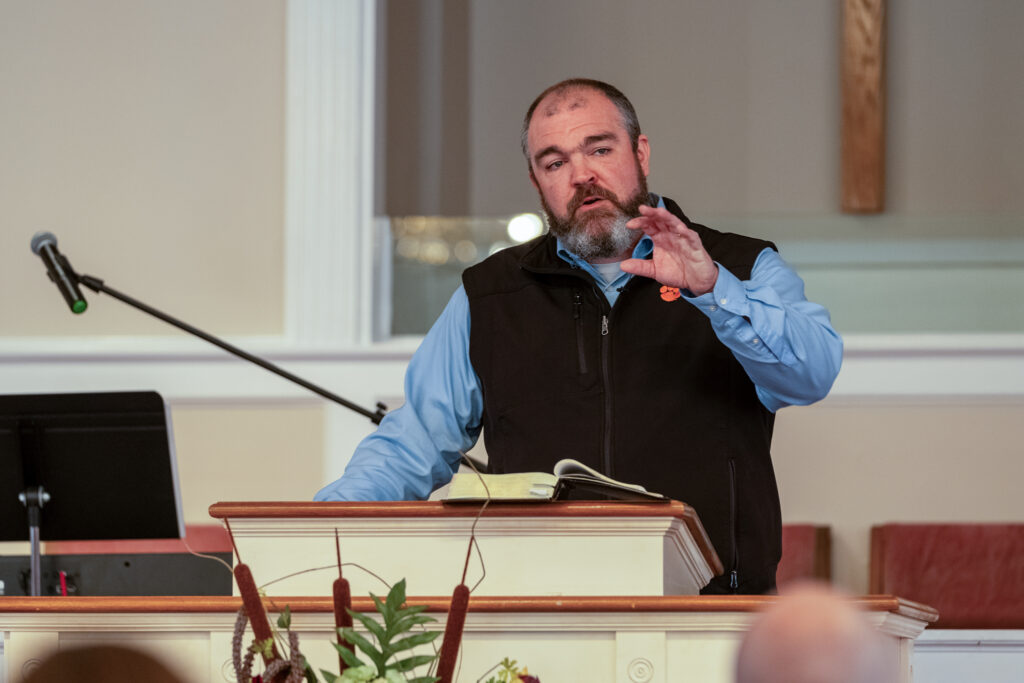
We’re going to go to topics now, and since this is a creative services, we’re going to tag creative services and then we’re going to go and add creative as being part of the team. This featured image is where you would upload a nice picture. We’re going to upload a nice picture of Travis here as my featured image. Now we have a featured image. We have our first resource title here, the content of the title. We have the fact that it is some downloadable resources, and if I hit preview, I can see it on my mode of choice before publishing it. If I hit preview desktop, preview in new tab and it will generate a preview of what I did. My first resource, the text that we would have, the download this resource and the links to the two resources.
(08:20):
You’ll see also that if I chose to, as we did before, placing the CTA in the sidebar and we wanted to preview it, you’ll now see that the CTAs of the resources are now here in addition to being here. We can also hide the social media icons and when we generate our preview, we have the fact that there’s no social media icons over here. We can also have it be no call to action, and it could just be a article itself. So when we would preview it says download this resources, but since we have disabled the ability to download the resource, it is not going to be there. We would remove these and now no call to action preview. There you go. We will also hide the preview. So this is how you would add a resource. You would then hit publish and that resource would be created. Hopefully that’s helpful to you and if you have any questions, please feel free to reach out to me. Thank you so much.